Today the stars aligned and I love this mini frame!
 |
| "Together is my Favorite Place to Be" |
I wanted something vintage-ish, clean not grungy. Worn and well loved was what I had in mind...
Let's get our supplies!
Globecraft & Piccolo:
Butterfly & Flowers Accents (A153) (or you could use Tiny Hearts, Flowers, Stars & Flourishes A144 or any other set with a small heart)
Vintage Lock & Keys Necklace (CA125)
Thrifted silver frame
Foam tape
cotton (crochet) thread
scrap patterned paper
heart punch
printed sentiment
The How To:
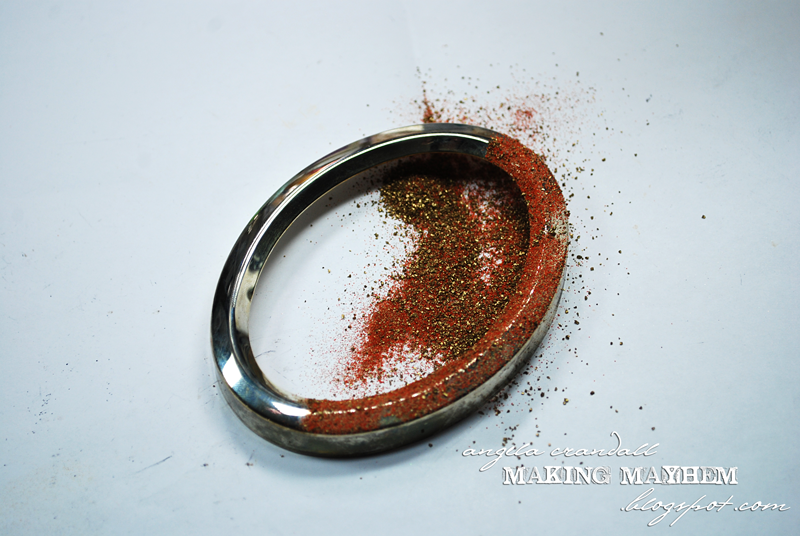
This project is pretty straightforward. Begin by dabbing on some Embossing Powder Adhesive Fluid and then emboss the frame with the Gilded Rose Gold. Don't be too precise. You want to leave areas unembossed. Tip: once the metal frame begins to get hot, you can dip the frame into a pile of the embossing powder without the adhesive.
I didn't have any more tiny hearts, so I used a small flower accent and snipped 2 petals into the shape of a heart. The book board cuts cleanly with scissors.
Using the adhesive fluid and embossing enamels, emboss, the heart, the lock and the key 2-3 times. Tip: to get the texture on the lock - melt 2 layers, while the surface of the lock is still hot, dip the face of the accent into the embossing powder. Heat only just enough to make the powder stick.
Punch out a heart from the scrap paper. Print your sentiment and then trim out the words. (I used a free font: Jane Austen for a little old world writing.) Distress all the edges using Vintage Photo Distress Ink.
Adhere the papers and accents using the Glastique. Use a small brush for the word strips.
I wanted the frame to have a kind of shadow box effect, so I layered foam strips. (When I was putting the frame together, I had forgotten to account for the thickness of the glass, so I ended up only using 2 strips of foam.)
String up the key and place one string between the foam strips and the other string over the top. Secure both strings on the back of the white cardstock.
Put the frame back together. That's it!
Stop by every day to see more Design Team inspiration! Don't forget to leave a little comment love and let us know how we're doing!
Inky hugs,
Angi


1 comment:
What an awesome framed piece. Love how you used the flower to make the little heart and the hanging key with the lock. Gorgeous!!
Post a Comment