Wednesday, April 30, 2014

Happy Birthday Greetings


 Happy Wednesday everyone! leslierahye  sharing a birthday card with a mixed enamel background. I began with a piece of mixed media paper [it's heavier and works well with building layers of emboss enamel--it does not buckle like lighter card stocks  can do]. I rubbed Enamel Powder Adhesive Fluid all over the piece of Mixed Media Paper and sprinkled on a layer of Enamel Powder STARRY SKY. While the Starry Sky was still molten, I add in a pinch or two of Enamel Powder AGED WHITE and a bit of Enamel Powder GIRLS NIGHT OUT. I set this aside to cool.
I moistened my Happy Birthday stamp with the Adhesive Fluid and stamped my Mixed Media Paper by laying the paper on top of the stamp and rubbing gently. I sprinkled the stamped image with Girls Night Out and heat set the powder. Once cool I brushed 3D Enamel Gel SATIN SILVER picking up bits of glitter in the enamel. The gel acts like a glue adhering the loose pieces down--giving it a confetti feel. I like the effect of the black glitter in the open areas of the sentiment. The silver is not too opaque and gives a translucent feel to the sentiment.
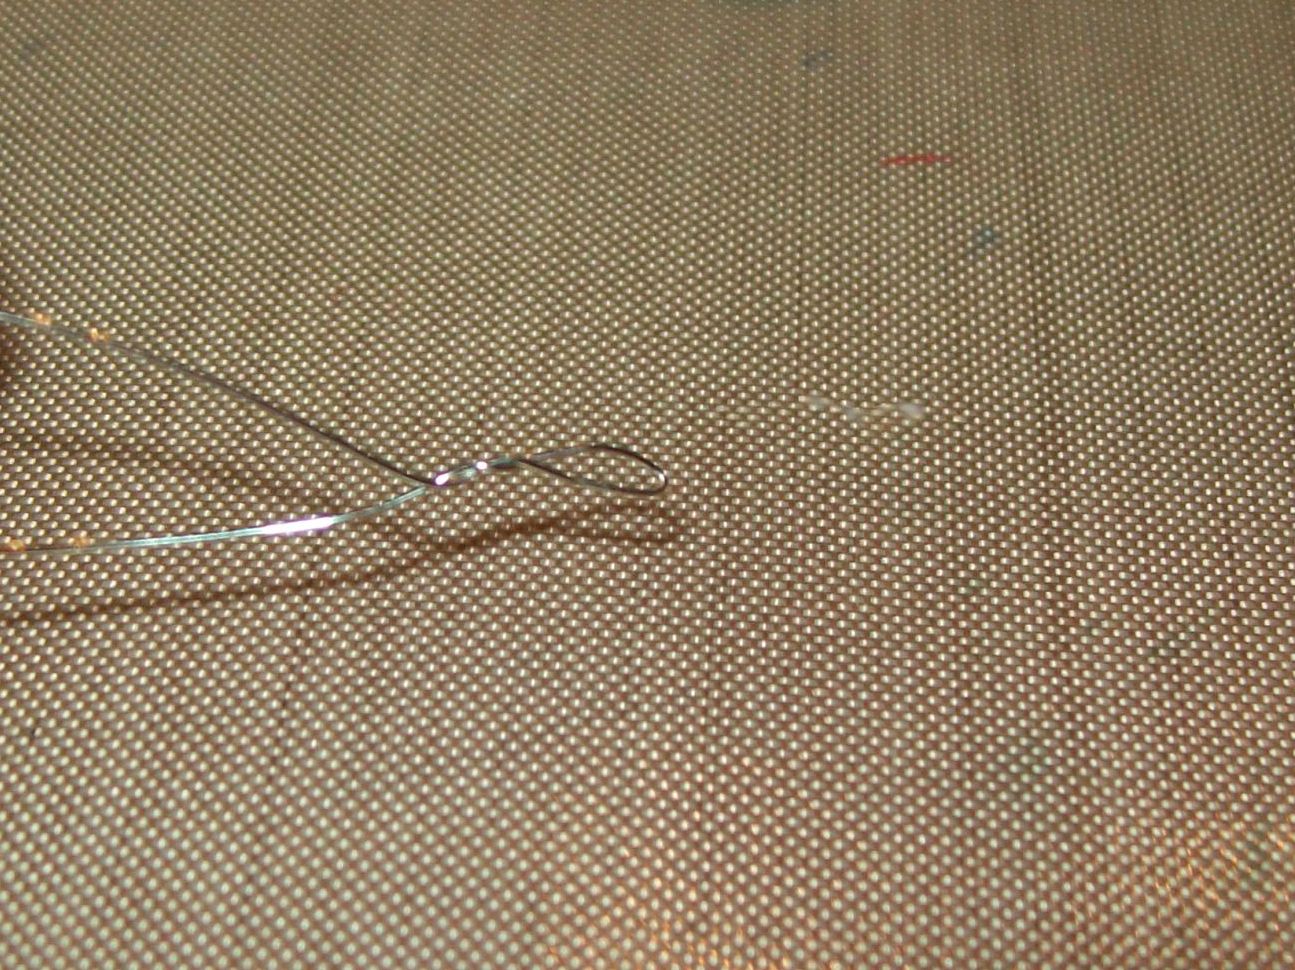
The card was finished off by tying some string around the sentiment and layering some silk ribbon below the sentiment. 
Globecraft & Piccolo Products used

Tuesday, April 29, 2014

Adding texture

Morning everyone, Tracy here. 
I wanted to show you today a pendant I have made that is slightly different...
I have used Royal Sterling Embossing Enamel and given 4 thick layers into a Teardrop bezel. Whilst it looked beautiful without me doing anything else i wanted to add some more texture, so whilst the immediately after heating the powder on the last coat I used a script rubber stamp...**PLEASE NOTE** do NOT use any other stamp other than rubber otherwise you risk damaging your stamp...Leave the stamp until the enamel has cooled and then slowly remove....and you then have some beautiful texture. 

 You can just see a hint of blue here, that is because i used some 3D enamel gel in Turquoise  and "buffed" over the surface with it, because the surface was so textured you find the gel sticks in certain areas...it is a lovely effect. I also rubbed some gilding wax in some areas and then finished off with a nice thick layer of Glastique Finishing Glaze  


 This picture shows all the different colours, texture and glaze perfectly. This technique can be used with so many different stamps....and it fun too :) 
Happy crafting 

Monday, April 28, 2014

Organizing Embossing Enamel Powders

Happy Monday, Folks!

Have you ever noticed that when it comes to Embossing Enamels that what you see in the jar may not be what shows up on your project after you add heat?

This week I have an organization idea for all of your Globecraft & Piccolo Embossing Enamel Powders!

This picture shows what the Ruby Red Embossing Enamel Powder looks like in the jar, on the table and after heat has been applied.

The melted powder looks very gold here due to the glare from the light. See the sample below.
Whoa! (Keep in mind the colors you see here may vary from what is in the jar due to differences in monitors.)

Apparently, I must really like the gold toned powders!
Sometimes after I have melted a powder, I don't remember which one I used, so to prevent that from happening (again!) I started making a sample of each of my melted powders and adhering them to the jar lids. A 1" circle punch is a perfect fit!


Now that I've made the samples, I can organize the powders by tones, colors, those without glitter...whatever suits my needs!

Quite often it's the little things that help us get by. In this case, taking the time to sample my Embossing Enamel Powder colors saves me time and prevents me from using the wrong color (and helps me to see that I need a few new colors to round out my supplies!)

Next in my quest for studio [re]organization is to make samples of the Embossing Enamel Powders on dark cardstock...

How do you organize your Embossing Enamel Powders?

Don't forget to stop by tomorrow for more Globecraft & Piccolo inspiration!


Sunday, April 27, 2014

A2 Album Page 1


Sandy here with you today.  Last week I showed you the cover of an A2 Album that I am working on.  This is the first inside page of my album.  I began with another beautiful French Oval Frame for my image, which I embossed with Victorian Bronze Enamel.  I added a Butterfly Accent colored with Copper 3D Stamp Paint.  I stamped a couple of embellishments with my new Sweet Stamps Creative Corners Set 5.  


For the left side, I created a journaling square framing it with Vintage Corner Flourishes embossed with Victorian Bronze Enamel.  I added a few more accents below from the Steampunk Airship Accents set, also embossed with Victorian Bronze.  


I love the elegance of the French Oval Frame.  I think it is perfect for this vintage image.  This is my first attempt at an album like this and hopefully I can get less structured in the coming pages, lol. 

Saturday, April 26, 2014

Mother's Day Card & Gift


Mother’s Day in the United States is just around the corner so today I am showcasing a Mother’s Day card I made for my mom for my Globecraft & Piccolo project. Remember, there is a NEW project every day on the Globecraft & Piccolo blog - go and see what my fabulously talented team mates have made.

What I Used to Make This Card:

Embossing Fluid
Embossing Enamel in Micro Black3D Gel in Titanium White and Rose Pearl
MOM Stamp from Great Impressions, #G150
Distress Marker in Seedless Preserves
White Card Base
Scrap of White Cardstock
Paper Flowers & Leaves (Hero Arts & Prima)
Scrap of decorative paper & butterfly sticker 
from KaiserCraft Violet Crush paper pack

Embossed
The gels
I first used Embossing Fluid on my stamp and then stamped it on a piece of scrap white cardstock.  I embossed the card using G&P Embossing Enamel in Micro Black.  Once that was accomplished, I took two of my 3D gels, Titanium White and Rose Pearl, put a dot of each on my wax paper, mixed them together and painted the sentiment. In order to make the letters stand out a bit more I colored over them with the Distress Marker in Seedless Preserves.
Painted with the 3D gel mix


Once my sentiment was dry, I trimmed it and adhered it to the decorative paper.  I needed to add some oomph so I turned to my stash of paper flowers and leaves (my mom loved to plant flowers) and added a few of them, as well as a butterfly sticker. The card is done, so let me move on to the gift I made for her.


The card is actually more purple than pink
For a gift I made a bird’s nest pendant.  This was SO easy but looks SO hard I love it! I loved it so much I already gave it to her I just couldn’t wait!  There are quite a few tutorials on the web for this type of pendant (one of my fav's is HERE) so I am just going to give you a quick explanation on how I made it.  I used some silver craft wire (22 gauge), about the 10” long, put the three “eggs” (these were just plastic beads I had hanging around) on the bottom of the wire and basically formed a circle around the eggs, adding walls and threading the wire through as I went around the nest.  I then cut more wire and weaved it in and out of the nest frame to make it more cohesive.  After I finished with the wire, I took care to tuck the ends so they wouldn’t snag on any clothing and shaped it a bit with a pair of needle nosed pliers.  Mom wore the necklace to her senior center on Tuesday and it was a hit! All the ladies wanted to know if I sell them – I told Mom to get their favorite colors and I’d be happy to make the pendants, the whole thing only took about 15 minutes! 
Not as neat as the ones in the tutorial but I love it!
So there you have it – I will most likely get my mom a plant for Mother’s Day as I can’t go over there empty handed.  I hope you enjoyed my little tutorial.  Please keep in touch, as I am getting ready to celebrate my Blogaversary!! I have SO many goodies to give away there is going to be more than one winner (and I keep adding stuff to the pile daily, who knows, maybe everyone will win something!) Thank you for stopping by ~ Christi


Friday, April 25, 2014

Journey

 
Hello my lovelies! Aimee here with a quick pendant to share with you. I work part time at a car dealership and I thought I'd like something kind of mechanical related to wear.


Supplies:
Enamel Gel-Copper
Jump ring, toothpick, paintbrush, word sticker, bling, glitter, mica flakes, tiny beads, Ranger Alcohol Inks and felt to apply them with


Remove the blue liner from the front of the charm. Apply Alcohol Inks. Paint entire front of charm with Glastique and quickly add glitter and mica. Let dry.

Punch out the smallest little set of gears from the Piccolo set and coat with Enamel Gel. Set aside to dry.

Once the gears are dry, start assembling the charm. Choose your word sticker and paint the back with Glastique and adhere to the charm. Paint over the front of the sticker with Glastique. Use the toothpick and add E600 to the back of the gears and add to the charm. Use E600 to add a little bling. Paint over charm again with Glastique and add more glitter and some tiny beads.

Let the entire thing dry, add a jump ring, and put on a necklace.

Thursday, April 24, 2014

For an OFFBEAT bride.......


When I first saw the flower shapes from Globecraft and Piccolo, I knew what I wanted to accomplish.

I made my daughter's wedding bouquet from vintage rhinestone brooches (all in silver and clear), but while researching the how to for that, I ran across several pictures like this.

I could tell that the various shapes of the chipboard and both the powder and the 3d enamels will give us a way to duplicate the look easily.

So for the next few posts I am going to show you how to create the elements to make your own vintage inspired brooch bouquet.

Shopping List

- Assorted 3D Enamel Gels 
       (I linked to the main page of the gels. Because this can easily be customized for your liking, simply shop         for those you want to use)
        I used:
          - Blue Green
          - Deep Red
          - Honey Mustard
          - Satin Blue Pearl
          - Coral Pearl
          - Titanium White
          - Ultramarine

Piccolos used in today's elements.
- A152 Floral Corners and Frame
- LA106 Stacey's Stacking Flowers 

Assorted other items.
- shank style button
- sparkly bits
- glue
- fine gauge wire


First - I gathered my goodies - and decided what 3D Gels to use for each element.


These blue and dark red bits are simply glazed with the Deep Red, Blue Green, and Satin Blue Pearl. After drying, I stacked them in pairs and glued them together.


Then the tiny pink flowers with rhinestone centers - I made three of these to make a "spray" similar to this one .  These are glazed with Coral Pearl.


I added wire to these by twisting a tiny loop.


And gluing it on.


Here are the three of these. Finished.


Now for the most detailed of these - the blue stacked one. It uses one of the largest stacking flowers and the next smaller size. On the larger one, I glazed the petals (NOT the center) with the Ultramarine gel. While that is still wet, I added a drop of Titanium White gel and swirled with a toothpick.

For the smaller layer, I glazed the petals the same, but added the center area in the Honey Mustard and swirled that out on the petals. (the swirl was inspired by this brooch)


After this dried, I stacked the smaller one on the larger one - flipped it over and painted the petals with Smooch Ink (just in case they were to show) I added a plastic shank button to allow me to attach a wire to this for final assembly.


Here is the finished element of that one. 


Now in case you are wondering - there will be more to  come next week. 

I have used google images and pinterest for my searches for inspirations for color and assembly. 

I do hope you will be back everyday for inspiration yourself. 


I think we are well on our way for this creation.


Have a great day!!!

Wednesday, April 23, 2014

Never Give Up!


  Happy Wednesday everyone! leslierahye here to share with you a card that would be great for a graduation or any other note for some accomplishments. I love the sentiment "The impossible is often the untried." This card is LAYERED with yummy emboss powders for a masculine steampunky grungy feel.


The front of the card is created using a gear stencil...I applied Enamel Powder Adhesive over the stencil and dusted with Real Rust powder. I heat set the powder and then edged the card stock with the adhesive making wider patches in places. Mermaid Tears was layered on top, leaving translucent patches on the stenciled background. I love the chunky glitter in Mermaid Tears and it's translucency--you can see the background through the emboss enamel.

The focal piece was created by stamping the sentiment and embossing it with Micro Black first and then masking the sentiment to stamp the rest of the images. That was also dusted with Micro Black and heat set. The card was colored with watercolor washes and mounted on a piece of card stock edged with Victorian Bronze. 

The inside of the card has a layered strip--edged with Victorian Bronze and a large panel stamped on the edge with brushes--and embossed with Victorian Bronze. This panel was also edged with the Mermaid Tears  to tie it into the front of the card. The focal panel was placed so that it extends over the edge of the shortened front and over the stamped side panel.

Globecraft & Piccolo Products used
  I hope you enjoyed my project! Thank you for stopping by today!

Tuesday, April 22, 2014

Steampunk Bubbleframe

Morning everyone, Tracy here. I hope you all had a lovely Easter ? 
I have been playing this week with one of the fantastic new Bubble Frames. 


I love how this turned out, and the possibilities are endless with these. 
The list of items used are at the bottom of this post. 


This picture shows just how fantastic the powders are, you can also see the "face" which I used a clock embossing folder on and then distressed using inks, waxes & Enamel powders. 


This one shows the gears and the lock.....you can also see the dimension of the powders. 


I hope my post has inspired you. These frames are brilliant for preserving keepsakes, or photos. 

Items used- 
Bubble Frame
Enamel Powders-
Stamp is Bronte Script from Visible Image 
Stazon Ink 
Crafters Companion A Stitch in Time Embossing Folder
Gilding wax 
Brads

Monday, April 21, 2014

Embossed Glassine Bag


Happy Monday!

I have a quick and easy gift wrap idea for those small items when you want to give a friend a little something and want to dress it up a bit. Glassine bags! The best kind to use are the kind that are labeled 'dry wax' as ink won't sit or bead up on the surface of the bag as much. This makes drying time much quicker - less smearing!

Let's take a look at the supply list:

Globecraft & Piccolo:

Floral Eggs (set of 15) LA108


Other Supplies:
decorative stamps (Stampin' Up!)
misc. stamps (Studio Calico, Technique Tuesday)
scrap patterned paper
pearls, various sizes
twine
ribbon

Stamp the bag with small circles. Stamp the big circle using the Embossing Adhesive and Mardi Gras Embossing Enamel. Cut a circle out of the scrap paper and adhere to the bag.


Dab the Embossing Adhesive over the Floral Egg. Emboss. Royal Sterling Embossing Enamel on one of the Floral Eggs is gorgeous! Purple with gold, silver and micro glitter. I even sprinkled a little here and there over the bag and the embellishments... 


And then there's a close up of the Embossing Enamel in Mardi Gras...look at that shine! Adhere the Floral Egg and the rest of your elements. Make it pretty!

Tuck in your little gift and finish it off with a glossy bow on top to close the bag.

Cute, right?

Sunday, April 20, 2014

Globecraft A2 Album


Sandy with you today.  Here is a peek at a new Globecraft set that will be in the store soon.  It is actually a picture frame but I wanted to make it into an album.


The set comes with 3 of each of the pieces you see above, including the globes (a total of 3 frames).  The outer dimension is 4.25 x 5.5 inches.  A tip when assembling these; make sure your hands are clean when handling the globe or you will get fingerprints.  If you do, just clean gently with some window cleaner and it will be back to new.


For my album, I used two Piccolo embossing powders; Girl's Night Out and Starry Sky.  I added a French Oval Frame, also embossed with Starry Sky for an elegant look.  Inside the dome, I have Large Floral Daisy Accent, which I colored with Rose Pearl and Avocado 3D Gel Enamel.  The butterfly is from the Butterfly Earrings set which is on clearance.  I colored it with Gold 3D Stamp Paint, adding some black accents with a Copic markers. 

I love the rich look of the embossing powder and look forward to filling my album with happy memories.

Saturday, April 19, 2014

Hi all, it's Christi with a project that was inspired by my Globecraft& Piccolo teammate Tracy (see her project HERE), I took one of my recent goodies and decided to use the leftover chipboard as a stencil. For my project today I made a very simple wall hanging.   
I could of made a beautiful card out of this just as easily, but my walls are bare! And, yes, I realize there is nothing on this to hang it yet, but I am going to be ordering wall hangers from G&P!

I used:
Piece of Vellum Card Stock (thicker than regular vellum)
White card stock
Dylusions Ink Sprays
Removable tape (to hold the stencil)
Scrap mat board
Brads

I removed all of the keys (there are 18 of them and they are 2" long) and took the leftover frame, taped it down on a piece of card stock and sprayed away with my Dylusions Ink Sprays.
Mine didn't come out as "smooth" as Tracy's - I think I need that adhesive she used! 

I cut the stenciled card stock down to size (I removed all the “over spray”) and then cut a piece of scrap mat board the size of the stenciled card stock.  Before I attached the cardstock to the mat board, I found a cool quote (I know, another one!), set it up in Microsoft Word, adjusted the font and such until I liked it, then printed the quote on vellum card stock. 
Another GREAT quote!!
I chose vellum card stock instead of regular vellum because I wanted to be able to still see the keys behind the quote, but I didn’t want the keys to be so visible that they were a distraction.

I cut the quote down to the size I wanted (after I let it dry – very important that you don’t touch the printed quote for a few minutes – how do I know? Guess!)  and attached that to the card stock using brads.  Glued the card stock onto the mat board and now I have another cool piece to hang in my studio!

Can you see the Key Holder?!?
In addition, wouldn't the leftover frame be a really cute board to hang your keys on?? Hmmm. . .
A final look. . .

I wish you all a happy holiday weekend ~ Christi